Picture this: you’re jamming with friends, and suddenly you’re effortlessly gliding through a solo that sounds like it came straight from your favorite guitarist. Your fingers move with confidence, and every note rings out perfectly. That’s not just a dream—it’s exactly where mastering the a major scale guitar can take you.
If you’ve ever felt lost on the fretboard, wondering where your fingers should go or why your solos sound disconnected, you’re not alone. Most beginner guitarists struggle with this exact problem. The good news? Learning the A major scale is your gateway to unlocking the entire guitar neck and playing with the musical freedom you’ve always wanted.
In this comprehensive guide, you’ll discover multiple positions for the a major scale guitar, practical finger patterns you can use immediately, and proven practice techniques that’ll accelerate your progress. Whether you’re just starting out or looking to solidify your foundation, this guide will transform how you understand and navigate your fretboard.
Table of Contents
What Is the A Major Scale and Why Does It Matter?
Understanding Music Theory Basics (Made Simple)
Let’s cut through the confusion. The A major scale is simply a sequence of seven notes—A, B, C#, D, E, F#, and G#—that create a bright, happy sound. You’ll find this scale everywhere in popular music, from classic rock to modern pop.
The formula behind it follows a specific pattern of whole and half steps: Whole-Whole-Half-Whole-Whole-Whole-Half. Don’t let that intimidate you. Once you start playing it, this pattern will make perfect sense under your fingers.
Here’s why the a major scale guitar is particularly beginner-friendly. First, it only has three sharps (C#, F#, G#), making it easier to remember than many other scales. Second, it’s incredibly common in the songs you already love. Third, the guitar-friendly shapes fit naturally under your hand, especially in the open position.
Real-World Applications: Songs That Use A Major
You’ve probably been hearing the A major scale your entire life without realizing it. “Free Fallin'” by Tom Petty? That’s A major. “Wild Thing” by The Troggs uses it throughout. Even sections of “Wonderwall” by Oasis rely on this scale.
When you master the a major scale guitar patterns, you’re not just learning an abstract concept. You’re gaining the ability to play countless songs and create your own melodies that sound professional and polished.
The A Major Scale Formula and Notes Explained
Breaking Down the Scale Pattern
Let’s look at exactly what makes up the A major scale and how each note functions:
| Scale Degree | Note | Interval from Root | Musical Role |
|---|---|---|---|
| 1 (Root) | A | Unison | Home base |
| 2 | B | Major 2nd | Tension |
| 3 | C# | Major 3rd | Major quality |
| 4 | D | Perfect 4th | Subdominant |
| 5 | E | Perfect 5th | Strong support |
| 6 | F# | Major 6th | Color tone |
| 7 | G# | Major 7th | Leading tone |
| 8 (Octave) | A | Octave | Resolution |
The magic ingredient here is that C# in the third position. This single note is what makes the scale sound “major” instead of minor. It’s the difference between happy and sad, bright and dark.
Understanding these intervals isn’t just theory for theory’s sake. When you know that the E (fifth degree) provides strong support to the A root note, you’ll naturally emphasize these notes when creating melodies. Your solos will suddenly sound more musical and intentional.
5 Essential A Major Scale Guitar Positions
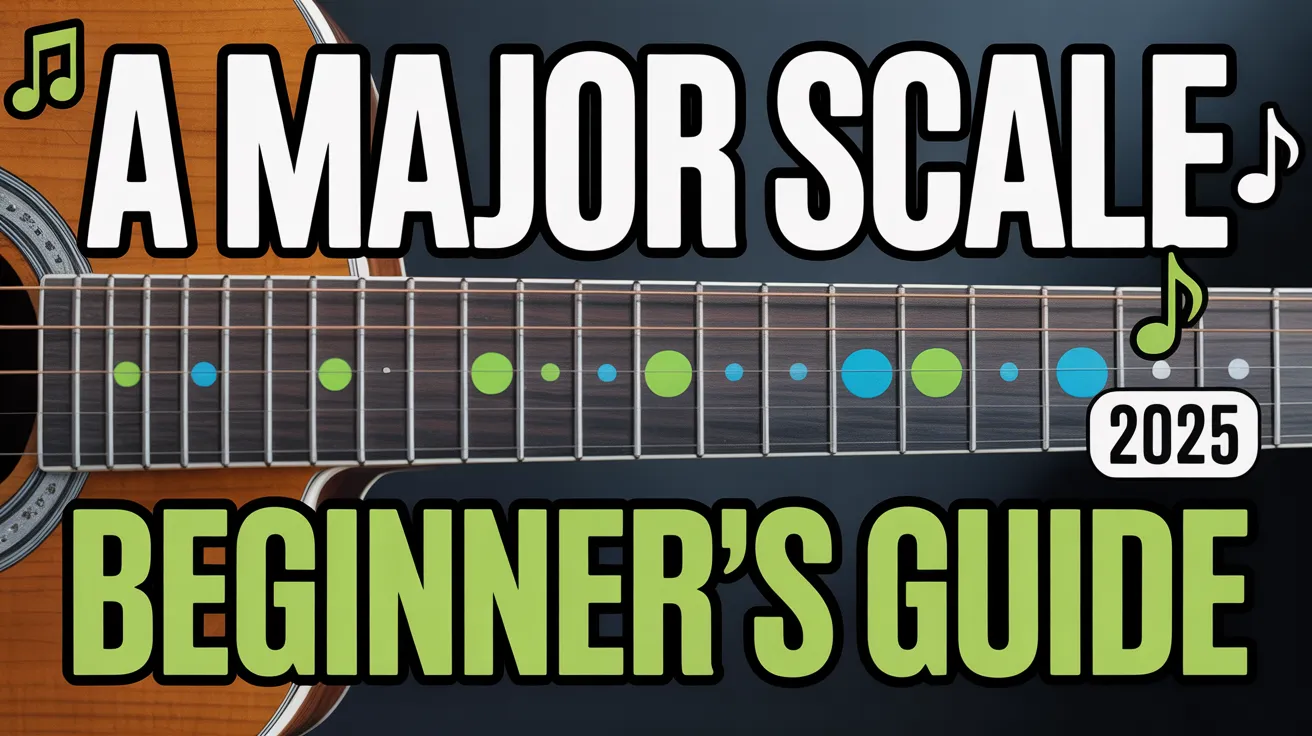
Position 1 – Open Position (Easiest for Beginners)
This is where your journey begins. The open position is absolutely perfect for beginners because it uses open strings, requiring less finger strength and making the notes ring out clearly.
Here’s how to play it step-by-step:
- Start with the open A string (5th string)
- Second fret of the A string for B
- Open D string (4th string)
- Second fret of the D string for E
- Fourth fret of the D string for F#
- Open G string (3rd string)
- Second fret of the G string for A
- Open B string (2nd string)
- Second fret of the B string for C#
Practice this ascending and descending five times slowly. Focus on making each note ring clearly without any buzzing or muted strings. Speed isn’t your goal yet—clarity is everything.
Position 2 – 2nd Fret Pattern (CAGED System)
Once you’re comfortable with Position 1, you’re ready to move up the neck. This position starts with your index finger at the second fret and is based on the A-shape barre chord you might already know.
Your finger assignment should look like this:
- Index finger handles all 2nd fret notes
- Middle finger covers 3rd fret notes
- Ring finger plays 4th fret notes
- Pinky takes care of 5th fret notes
This position is incredibly versatile for lead playing. Many famous guitarists default to this area of the neck because it sits perfectly under your hand and offers great tone for solos.
Position 3 – 5th Fret Pattern
Now we’re getting into territory that sounds more “rock and roll.” Starting on the 5th fret of the low E string (which gives you an A note), this position is fantastic for creating powerful riffs and memorable solos.
The beauty of this position is how it connects to other scales you’ll learn later. The fingering pattern here is similar to the E major scale in open position, which means you’re actually learning two things at once.
Practice exercise: Play the scale ascending, then descending, then alternate between both for two full minutes. This builds both muscle memory and endurance.
Position 4 – 7th Fret Pattern
This higher register gives you a brighter, more cutting tone that stands out in a mix. Blues and rock guitarists love this position for its expressive quality and the way notes sustain.
The box pattern here is particularly easy to memorize. You can think of it as a rectangle shape on the fretboard, which makes it visually simple to remember even under pressure.
Position 5 – 9th Fret Pattern
This is your advanced position that connects back to Position 1—just one octave higher. When you can smoothly transition from Position 4 through Position 5, you’re truly navigating the fretboard like a pro.
Quick Reference for All 5 Positions:
| Position | Starting Fret | Best For | Difficulty Level |
|---|---|---|---|
| Position 1 | Open | Beginners, rhythm playing | Easy |
| Position 2 | 2nd | Lead versatility | Medium |
| Position 3 | 5th | Rock solos | Medium |
| Position 4 | 7th | Blues, midrange tone | Medium-Hard |
| Position 5 | 9th | Advanced leads | Hard |
How to Practice the A Major Scale Guitar (Step-by-Step Method)
Week 1: Master Position 1
Your first week should focus entirely on Position 1. Don’t rush this—you’re building the foundation for everything that comes after.
Your daily 15-minute practice routine:
Minutes 0-3: Warm up with simple finger stretches and chromatic exercises to get blood flowing to your fingertips.
Minutes 3-8: Play Position 1 slowly at 60 BPM with a metronome. Up and down, focusing on clean notes. If you hear buzzing, slow down even more.
Minutes 8-13: Apply what you’re learning by creating simple melodies using only notes from the scale. Don’t worry about sounding “good”—just experiment.
Minutes 13-15: Review any spots that gave you trouble. Isolate problem areas and practice them in small chunks.
The metronome is non-negotiable here. Start at 60 BPM and increase by just 5 BPM each day. This gradual approach prevents sloppiness and builds solid technique.
Week 2-3: Add Positions 2 and 3
Now you’re ready to expand your vocabulary. Spend five minutes on each position, then practice transitioning between them smoothly.
The transition points are where the magic happens. When you can move from Position 1 to Position 2 without hesitation, you’re starting to see the fretboard as one connected whole instead of isolated chunks.
Create simple three-note melodic phrases using all three positions. For example, start in Position 1, shift to Position 2 for the middle phrase, and resolve in Position 3. This musical approach keeps practice interesting and practical.
Month 2: Connect All Positions
Your goal for month two is ambitious but achievable: play fluently through all five positions in one continuous run.
Start at Position 1, shift to Position 2 at the connection point (usually when you run out of notes in the current position), continue through Position 3, Position 4, and Position 5, then come back down the same way.
This exercise transforms the a major scale guitar from five separate patterns into one fluid system. Suddenly, the entire fretboard makes sense.
Practice Tools and Resources
You don’t need expensive equipment, but these tools will accelerate your progress significantly:
- Metronome apps: Soundbrenner or Pro Metronome (both free)
- Backing tracks: Search YouTube for “A major backing track” and play along
- Learning apps: Fret Trainer helps you memorize note positions faster
Backing tracks are particularly powerful. Instead of practicing scales in isolation (boring!), you’re making actual music from day one.
Common Mistakes to Avoid When Learning A Major Scale
Mistake #1: Skipping the Basics
I see this constantly. Beginners want to jump straight to shredding at Position 5 before they’ve mastered Position 1. Resist this temptation.
Slow, deliberate practice in the open position builds muscle memory that makes every other position easier. Rush this stage, and you’ll develop bad habits that take months to unlearn.
Mistake #2: Neglecting Proper Finger Placement
Your fingers should be curved like you’re holding a small ball. Press behind the fret, not directly on top of it. Use your fingertips, not the flat pads of your fingers.
Poor finger placement causes buzzing, muted notes, and finger fatigue. Get this right from the start, and everything else becomes dramatically easier.
Mistake #3: Ignoring Rhythm and Timing
The a major scale guitar isn’t just about hitting the right notes—it’s about hitting them at the right time. A perfectly-executed scale that’s rhythmically sloppy sounds amateurish.
Practice with a metronome from day one. No exceptions. Your future self will thank you.
Mistake #4: Not Applying to Real Music
Learning scales in a vacuum is mind-numbingly boring and surprisingly ineffective. Your brain learns better when information has context and meaning.
Always practice with backing tracks or over chord progressions. This approach makes practice sessions enjoyable and shows you immediately how the scale applies to real music.
How to Use A Major Scale Guitar in Your Playing
Improvising Over Chord Progressions
Here’s where theory becomes music. These are the most common A major progressions you’ll encounter:
- A – D – E (I – IV – V): Classic rock and country foundation
- A – F#m – D – E (I – vi – IV – V): Pop ballad staple
- A – Bm – D – E (I – ii – IV – V): Folk progression favorite
Record or loop one of these progressions, then improvise using notes from the a major scale guitar. At first, just play random notes from the scale. Gradually, you’ll develop an ear for which notes sound best over which chords.
Pro tip: Try to land on chord tones (for an A major chord, that’s A, C#, or E) when the chord changes. This creates a sense of resolution that sounds immediately more professional.
Creating Melodies and Riffs
Start simple—use just three or four notes. Add rhythmic variations by playing some notes short and others long. Gradually expand your note choices as your ear develops.
Think of creating melodies like having a conversation. You need pauses, emphasis, and variety. Not every note should be played with the same volume or duration.
Connecting Scales to Chords
Understanding which chords belong in the key of A major transforms your songwriting and improvisation:
| Scale Degree | Chord | Notes | Musical Function |
|---|---|---|---|
| I | A major | A-C#-E | Home base |
| ii | B minor | B-D-F# | Preparation |
| iii | C# minor | C#-E-G# | Mediant color |
| IV | D major | D-F#-A | Subdominant |
| V | E major | E-G#-B | Tension/resolution |
| vi | F# minor | F#-A-C# | Relative minor |
| vii° | G# diminished | G#-B-D | Leading tone |
This table is gold for songwriting. Every chord listed here “belongs” in the key of A major and will sound natural together. Mix and match them to create your own progressions.
Taking Your A Major Scale Guitar Skills to the Next Level
Speed Building Exercises
Speed comes from economy of motion and consistent practice—not from forcing your fingers to move faster than they’re ready for.
Focus on these elements:
- Minimize finger movement (stay close to the fretboard)
- Develop efficient alternate picking technique
- Increase tempo by just 5 BPM per week
Challenge yourself: play the scale cleanly at 120 BPM within three months. That’s fast enough for most rock and pop solos.
Scale Sequences and Patterns
Sequences break you out of the “up and down” rut and develop your ear for intervals:
Playing in thirds: A-C#, B-D, C#-E, D-F#, and so on. This builds melodic thinking and sounds inherently musical.
Playing in fourths: A-D, B-E, C#-F#. This jazz-influenced approach opens up new melodic possibilities.
Ascending fours: A-B-C#-D, then B-C#-D-E, then C#-D-E-F#. This creates a flowing, cascading effect used by shredders like Yngwie Malmsteen.
Practice each sequence slowly first, focusing on making every note clear and distinct.
Frequently Asked Questions
What notes are in the A major scale guitar?
The A major scale contains seven notes: A, B, C#, D, E, F#, and G#. When you play the a major scale guitar patterns across different positions on the fretboard, you’re repeating these same notes in different octaves. The key signature includes three sharps (C#, F#, and G#), which gives this scale its characteristically bright and uplifting sound that works beautifully in pop, rock, country, and folk music.
What is the easiest position to learn the A major scale on guitar?
The easiest a major scale guitar position for absolute beginners is Position 1, the open position starting on the open A string. This position incorporates several open strings, which means you need less finger strength and coordination to produce clean notes. It’s perfect for building initial muscle memory and training your ear to recognize the sound of the major scale before you tackle more demanding positions higher up the neck.
How long does it take to master the A major scale on guitar?
Most dedicated beginners can play the a major scale guitar open position comfortably within one to two weeks of daily practice. However, truly mastering all five positions across the entire fretboard and developing the ability to improvise fluently typically requires two to three months of consistent practice—about 15 to 30 minutes daily. Speed, musical expression, and the ability to use the scale creatively in songwriting and improvisation continue developing over years of regular playing.
Can I play songs with just the A major scale?
Absolutely! Countless popular songs are written entirely in the key of A major, which means the a major scale guitar patterns contain every note you need to play melodies, riffs, and solos. Songs like “Free Fallin'” by Tom Petty, “Wild Thing” by The Troggs, and “Hey Soul Sister” by Train all use the A major scale. You can create complete melodies and improvise solos over any A major chord progression using just this one scale.
What’s the difference between A major and A minor scale on guitar?
The a major scale guitar produces a bright, happy, uplifting sound, while the A minor scale sounds darker, sadder, and more introspective. The technical difference lies in three notes: the 3rd, 6th, and 7th scale degrees. A major uses C#, F#, and G#, while A minor uses C, F, and G (natural notes with no sharps). This seemingly small change dramatically affects the emotional character and mood of any music you create with these scales.
Your Journey with the A Major Scale Guitar Starts Now
You’ve just absorbed a complete roadmap for mastering the a major scale guitar—from understanding the basic theory to playing fluently across all five positions. This scale is your foundation. Master it, and every other aspect of guitar playing becomes significantly easier.
Remember, legendary guitarists like Eric Clapton, John Mayer, and Jimi Hendrix all started exactly where you are right now. The fretboard that seems foreign and intimidating today will become your creative canvas tomorrow.
Here are your action steps:
- Start with Position 1 today, even if it’s just five minutes
- Use a metronome and backing tracks from the beginning
- Apply everything you learn to actual songs immediately
- Track your weekly progress in a practice journal
Small, consistent daily progress beats sporadic intensive practice sessions every single time. Fifteen minutes daily for thirty days will transform your playing more than one three-hour marathon session.
The a major scale guitar isn’t just a pattern to memorize—it’s a musical language that allows you to express yourself, connect with other musicians, and create music that moves people.
Ready to expand your guitar knowledge even further? Check out our comprehensive Guitar Chord Book—featuring hundreds of chord diagrams, progressions, and practice exercises designed specifically for beginners like you. Transform your playing from basic to brilliant with proven techniques used by professional guitarists worldwide.
Pick up your guitar right now, start with Position 1, and take that crucial first step toward the musical freedom you’ve always wanted. Your journey begins today.